Kids Go Gardening - garden art
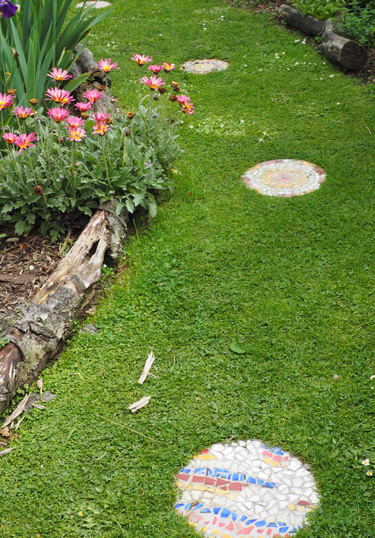
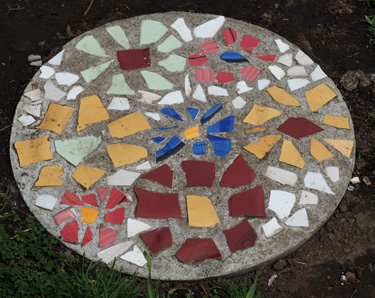
Zoe Carter has perfected the art of creating beautiful mosaic stepping stones for her family’s garden. Thanks Zoe for showing us this fun project to keep us busy while we wait for Christmas. What a fantastic gift idea for someone special!
Zoe's stepping stones:
You will need:
- A mould
- A bag of ready-mix concrete
- Water
- Decorations (e.g. colourful crockery, pebbles, shells, weathered glass)
| 1 | Make your mould. Zoe made her stepping stone mould from a flexible plastic tub. She says the wobbly plastic makes it easy to tip the finished stepping stone out of the mould. Flexi tubs come in a choice of different sizes. You could also make a mould from an ice cream container or a plastic milk jug. A large pizza box is a handy size for a square paver. TIP: To make it easier to get your paving stone from a plastic mould, spray it with cooking oil. |
| 2 | Plan your design. Choose your decorations and lay out your design on the ground before you start. Find a shady space to work so you can leave your paver to cure out of the sun (this dries the concrete too fast). |
| 3 | Add concrete mix to your mould, to fill it 4-5cm deep. |
| 4 | Add water gradually, stirring as you go so that your mixture is like thick concrete porridge. Alternatively, you can mix your concrete in a bucket following the instructions on the bag before tipping it into your mould. (Now that Zoe has made lots of pavers, she gets the mix right without needing a recipe.) |
| 5 | Pat the mix down firmly and smooth the surface ( use a flat trowel or gloved hands). This brings water to the top which is fine. |
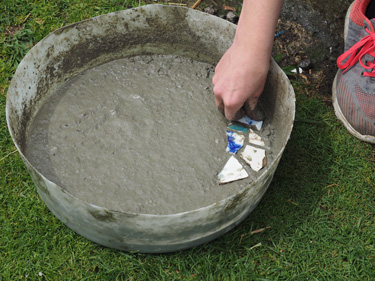
| 6 | Make your design. Let your paver sit for 10 minutes before firmly pressing your decorations into the concrete. |
| 7 | Leave your masterpiece to ‘cure' overnight. After 24 hours, gently remove it from its mould. Tip it out onto the lawn. Be very careful because the concrete is not fully set hard yet. |
| 8 | Clean the top of your paving stone using water and a scrubbing brush or a rag to make your design and colours stand out. |
| 9 | Leave it in the shade to completely dry out before you place it in the garden. The concrete is not properly cured for a few weeks. |
1-Dec-2020


